
Steps in Mask Making
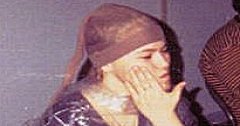
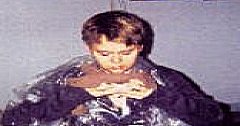
1. Cover hair with with an old nylon and cover face with vaseline.
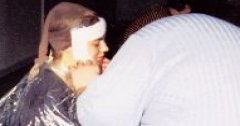
2. Cut strips of
plaster about two inches long, smaller strips as required. Cover
the entire face with at least two coats, leave holes for
nostrils. Let plaster dry, use a hair dryer to speed up the
process.
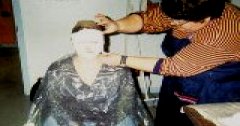
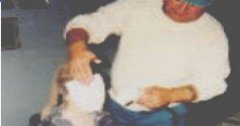
3. When plaster is
dry, remove gently, cover nostril holes and apply another coat of
plaster to reinforce mould. Let mould dry thoroughly for a couple
of days.
4. When plaster is
dry, apply a liberal coat of vaseline on the inside of the mould.
Pour plaster inside the mould you made, fill it flush to the edge
and let the plaster dry for ten to fifteen minutes.
5. When it is dry,
remove plaster block from mould which will give you a positive
mould. Let block dry thoroughly for a couple of days.

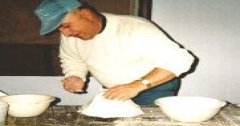
6. Using modeling
clay, sculpture the character that you want to create over the
positive mould. Then create a border around the mould.
7. Pour plaster
over this sculpture, about one and a half inch thick, let set for
about ten to fifteen minutes and then remove: you now have a
negative mould of the character that you created with the
modeling clay.
8. Apply two coats of varnish on both sides of the mould. Let
dry.
9. When varnish is dry, apply a liberal coat of vaseline on the
inside of the mould.
10. Tear pieces of paper approximately one foot square and using
glue, work it into the paper until it feels like a chamois. Then,
tear small pieces of paper and apply on the inside of your mould,
overlapping them. Put four coats and let it dry until it becomes
hard.
11. When paper maché is dry, remove from mould, trim edges, cut
out eyes, nose and mouth as desired, apply gesso, then decorate
to your liking.
* To produce a mask with the features of the person who modeled,
just skip steps 4 - 7.