|

|

 |
||||
Most displays are composed of specimens that have been replicated. It is rare to find the original fossil on display. Should the fossil happen to break it is irreplacable. To reduce this risk museums create replicas. The replicas are made of light weight material making the mounts easier to dismantle and to travel with. This section describes the processes involved in creating a mount for display.
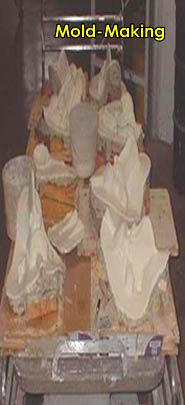
Mold Making
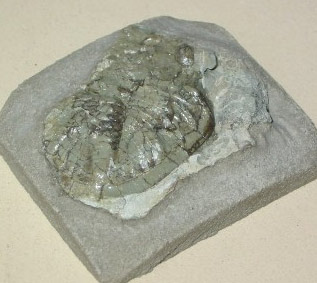
The first step in making a display is to create a replica. Specimens from the collection are chosen, based on preservation and stability. The molds created for casting may destroy the original fossil, making the selection process of well preserved specimens highly important.
Based on the specimen chosen for replication, there are three types of molds that can be made here at the Morden District Museum. The first compound, PMC-121/30 A and B, is used for smaller, more stable specimens, the brush-on 40 compound is used for larger specimens producing greater flexibility and the last type of rubber compound used for mold making is a latex rubber C1204.
All three rubber compounds are moisture sensitive. The products must be stored and worked with in a low humidity environment. When mixing the products, even a wooden mixer may hold moisture.
PMC-121/30
PMC-121/30 is a urethane liquid rubber. Part A and Part B are combined in a mixing container and mixed for approximately 3 minutes. The average pot life (time to work with the compound in the container) is approximately 30 minutes, requiring a cure time of 16 hours.
A plaster base must be created with the specimen situated in it, acting as the bottom mold. Grooves and a pouring spout are added to the base to ensure the mould will seal and create a spout to pour the casting material into. The base is placed in an enclosure making sure all sides are sealed to prevent leaking. The rubber is poured into the enclosure and allowed to cure.
Once cured the first part of the mold is released from the base. This new rubber mold acts as the base for the second portion of the mold. The specimen is placed in the new rubber base and once again sealed in the enclosure. A second batch of liquid rubber is made and poured over the new base to make a perfect fit.
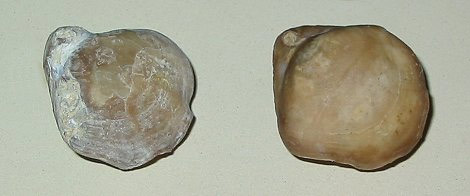
This rubber is amber in colour and can easily be identified. It is the strongest mould in the museum, but is soft enough not to harm stable fossils.
Brush-on 40
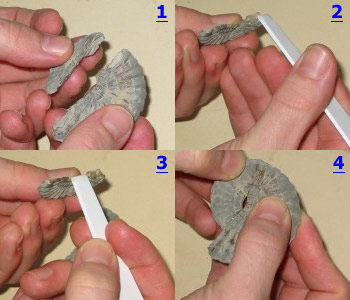
Brush-on 40 is a rubber compound composed of two parts, A and B. Part A is a liquid and B is similar in texture to plaster or putty. They are mixed together in equal parts and brushed onto the specimen in layers. Approximately 3 layers is applied. Each layer requires 20 minutes to set before the next layer can be applied. Once all the layers are added the mold must cure for 16 hours before it can be released from the specimen. Each layer must be mixed independently, due to a short pot life.
This rubber mold is the softest the museum uses to create larger structures, such as a skull.
Latex Rubber C1204
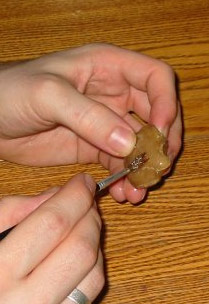
This rubber compound is commonly referred to as the cheesecloth mold here at the museum. This mold is similar to the brush-on in application, but there is no mixing of compounds. The rubber from the container can be directly applied to the specimen. Cheesecloth is added for additional support to the mold. Strips of gauze or cheesecloth are placed on the surface of the specimen. The latex rubber is brushed onto the entire surface, filling in every depression and feature of the specimen. Multiple layers are applied with an approximate 20 minute wait between layers until a desired strength is achieved.
This type of mold is very durable but not as flexible as the brush-on 40. The cheesecloth provides extra stability. This rubber compound can be taken into the field to make molds of footprints and other well preserved specimens.
|
|
|
|
|
||||